Import new products into Shopify
Create is the default import mode. It adds products from your file that don't already exist in Shopify — matched by SKU.
Step 1 — Upload your file
Drag your file onto the upload area or click Select a file. Csvio accepts CSV, Excel (.xlsx / .xls), and PDF files. Nothing reaches Shopify until you review the mapping and click Import.
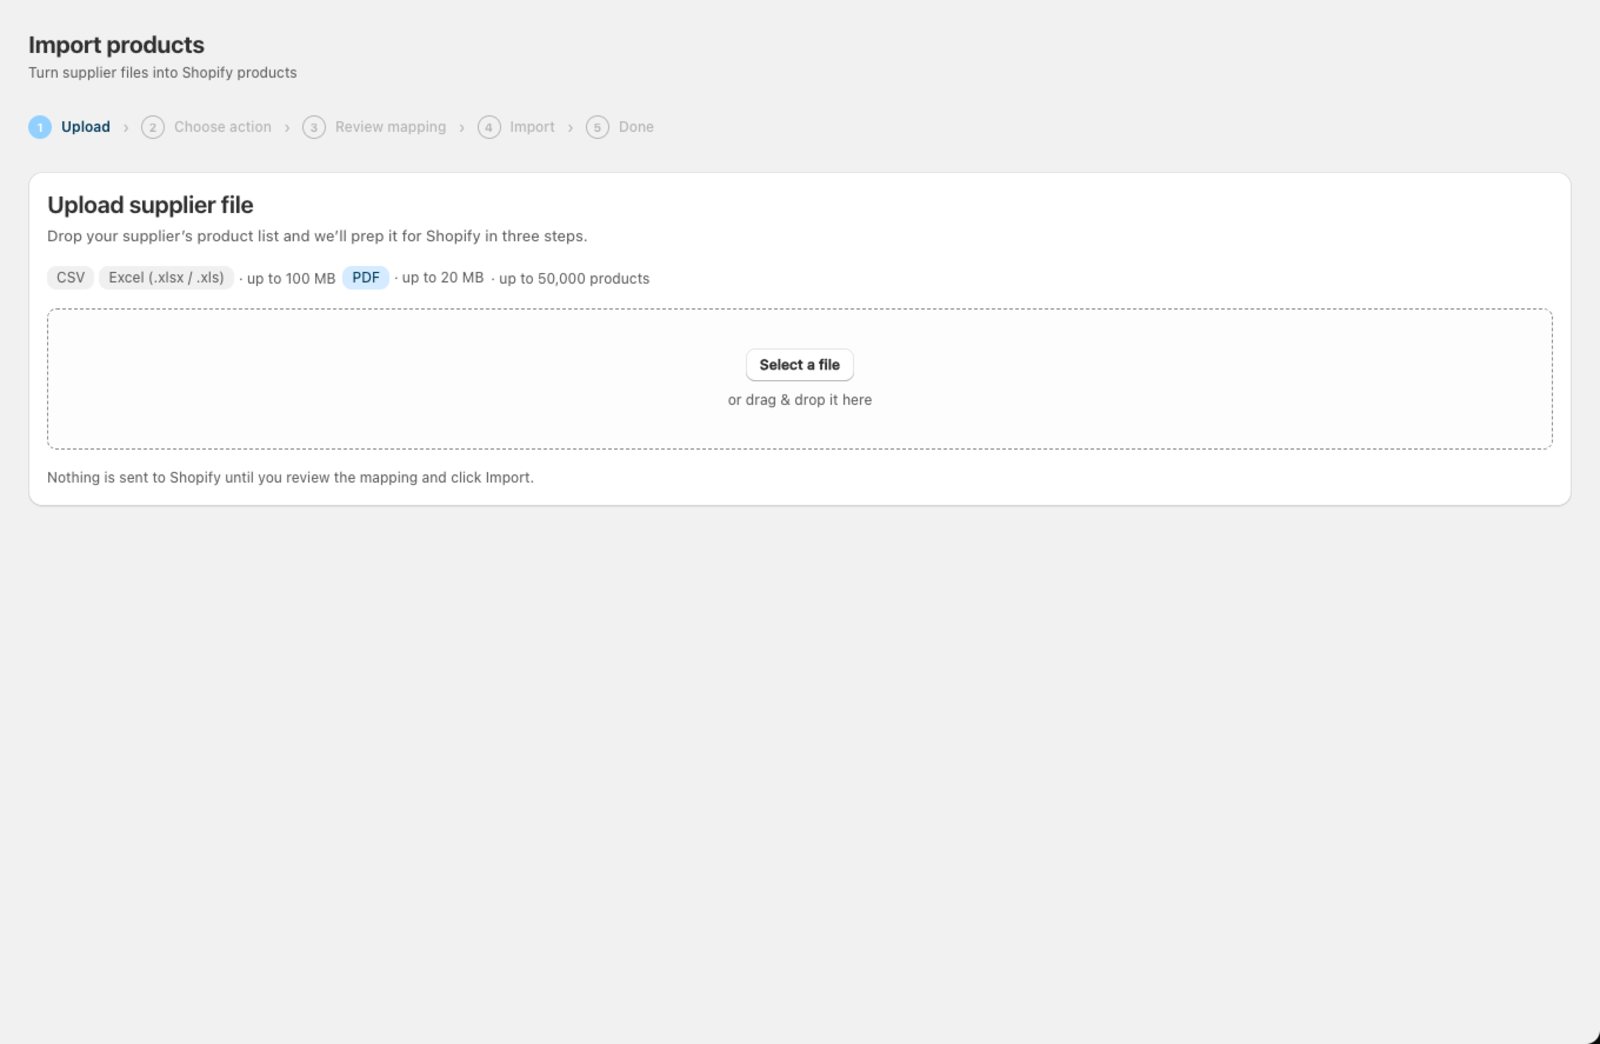
If you upload a file from a supplier you've saved before, Csvio shows a Sync changes from this supplier card with a breakdown of new, changed, and removed products since your last import — that's Resync, a faster path when you're re-uploading an updated version of a known file.
Step 2 — Choose Create
Select Create on the action screen.
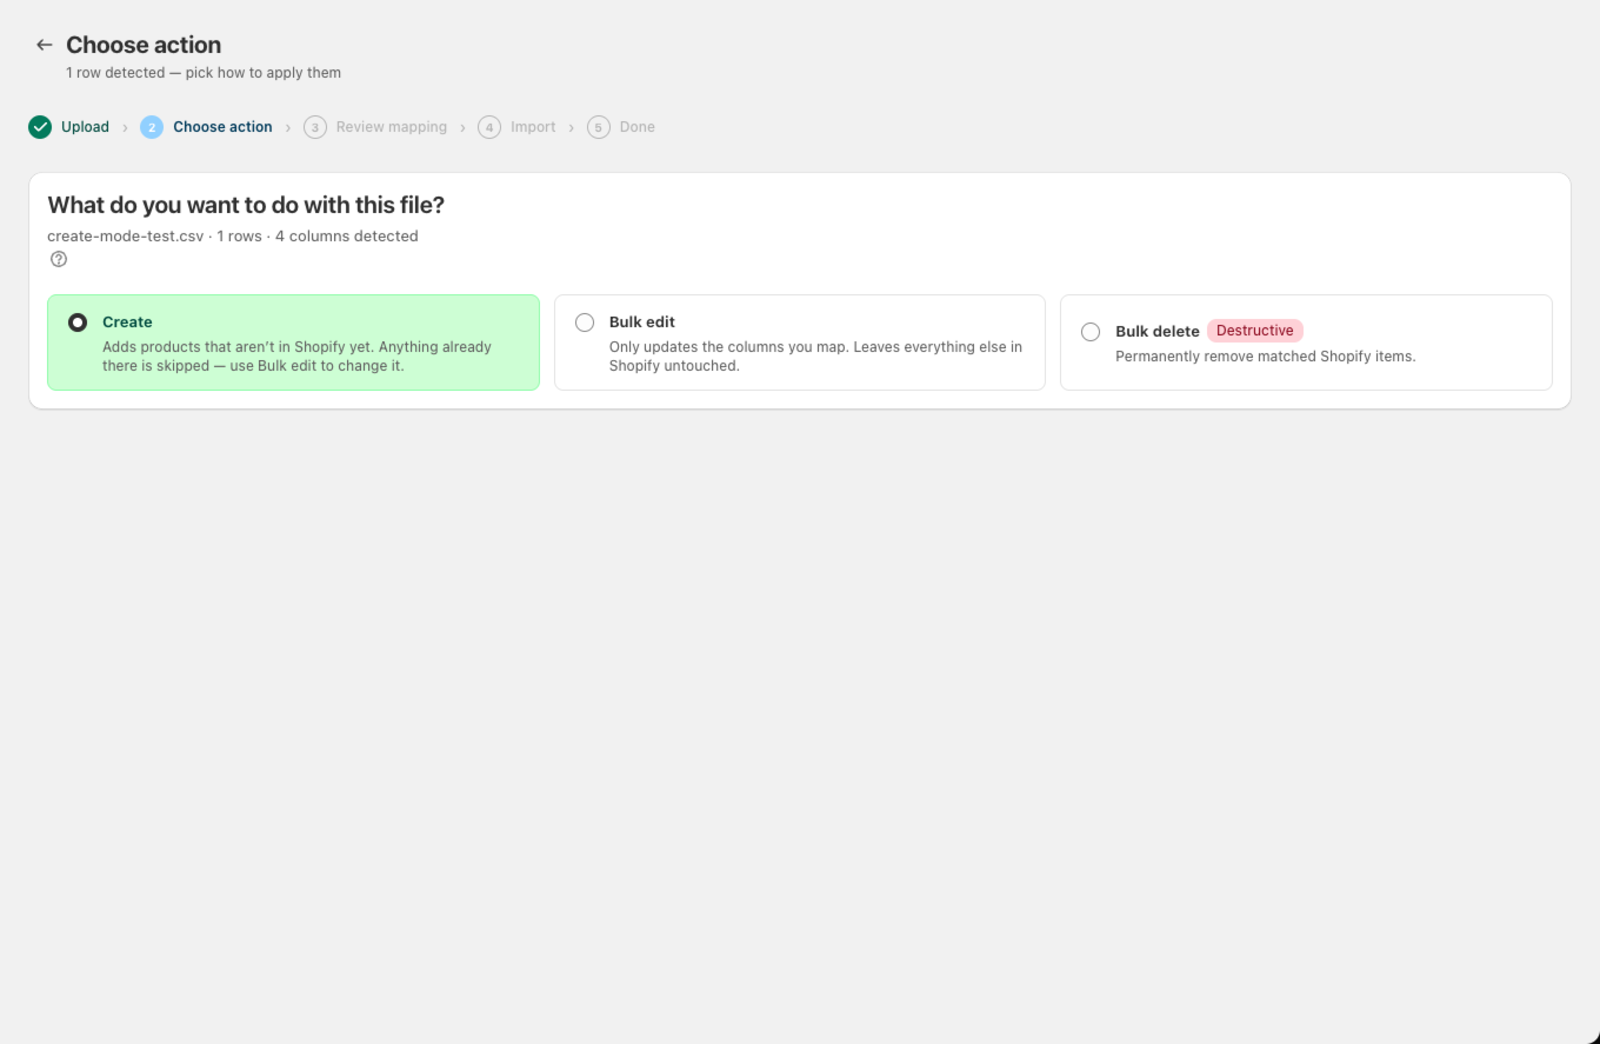
This mode:
- Creates a new Shopify product for each row with a SKU that doesn't already exist in your store.
- Skips the row when a matching SKU is found — the existing product is left exactly as it is.
Does Create change products I already have?
Unlike an update, Create won't change a product you already have. If a row's SKU matches, Csvio leaves that row out and reports it as skipped ("Already in your store") once the import finishes — it doesn't count as a failure.
If you want to change fields on products you've already imported — prices, descriptions, tags — use Bulk edit, which only writes the columns you map. If the file is an updated version of one you've imported before, Resync shows you exactly what changed and lets you push just that.
Step 3 — Review the column mapping
Csvio maps your file's columns to Shopify fields automatically. Each row in the mapping table shows:
- Source column — the header from your file
- Sample — the first row of data so you can verify the match
- Shopify field — the target field (change it with the dropdown, or choose skip column to ignore it)
The mapped / skipped filter buttons above the table let you focus on just the columns that need a look, and a banner calls out any column with real data that isn't mapped yet.
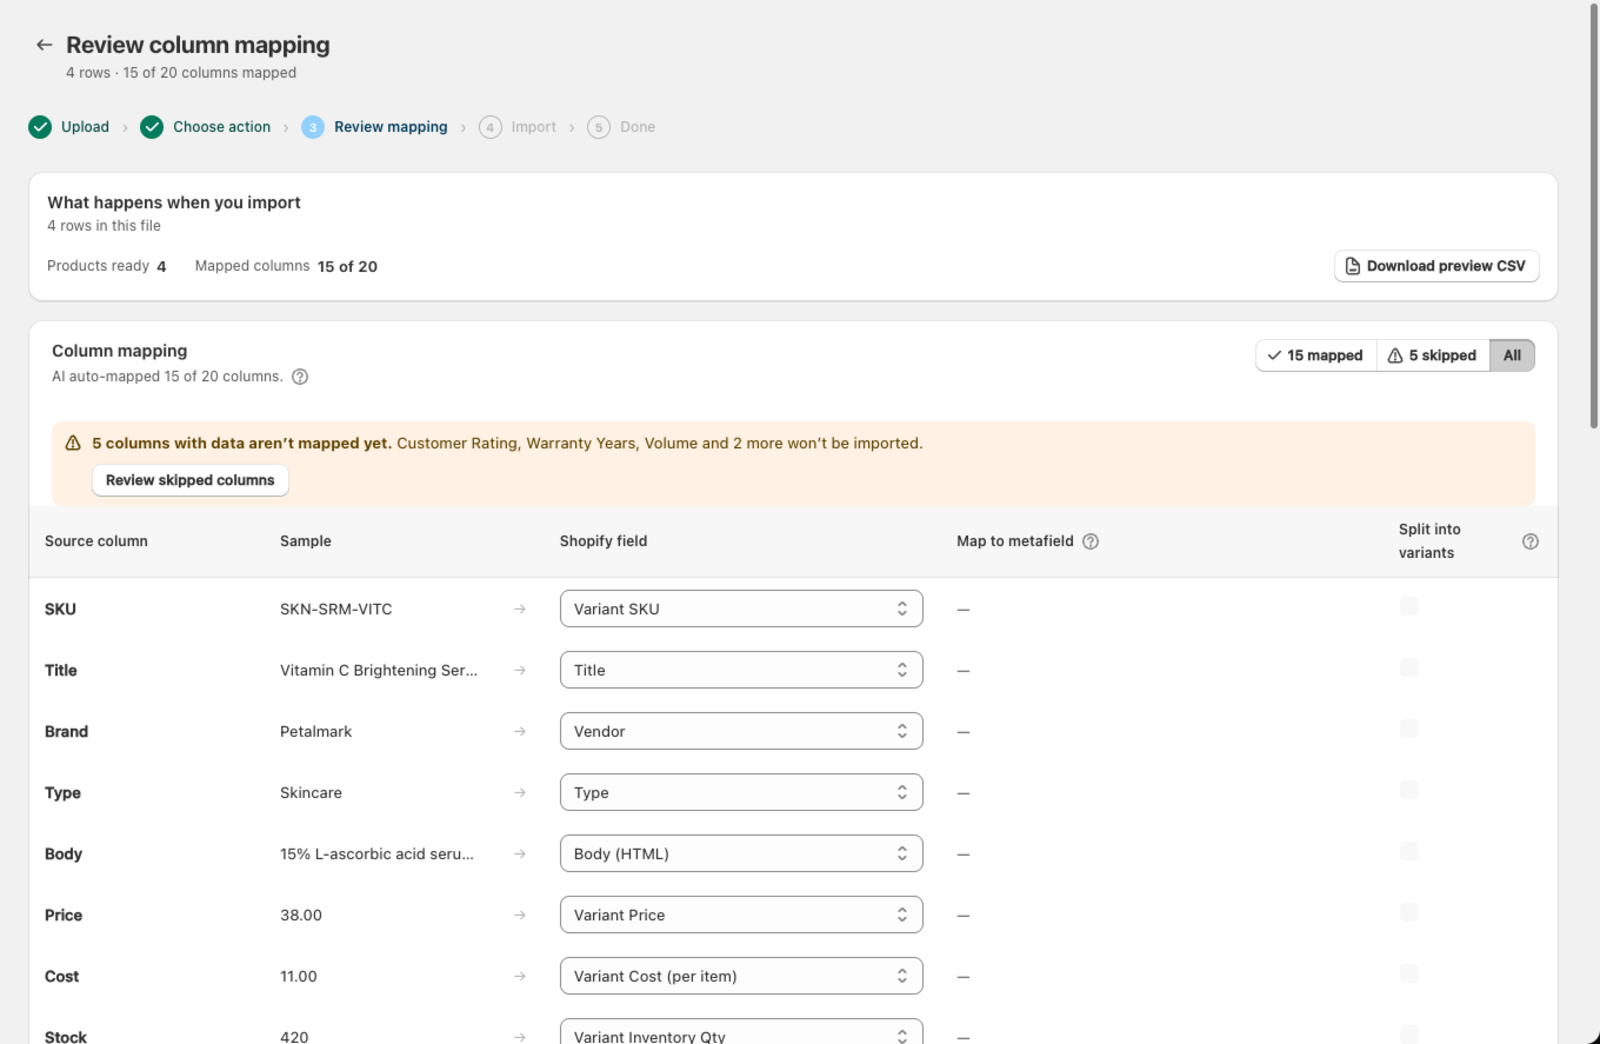
If a mapping looks wrong, select the correct Shopify field from the dropdown. See Fix an incorrect column mapping for common mix-ups.
Step 4 — Check the Import defaults card
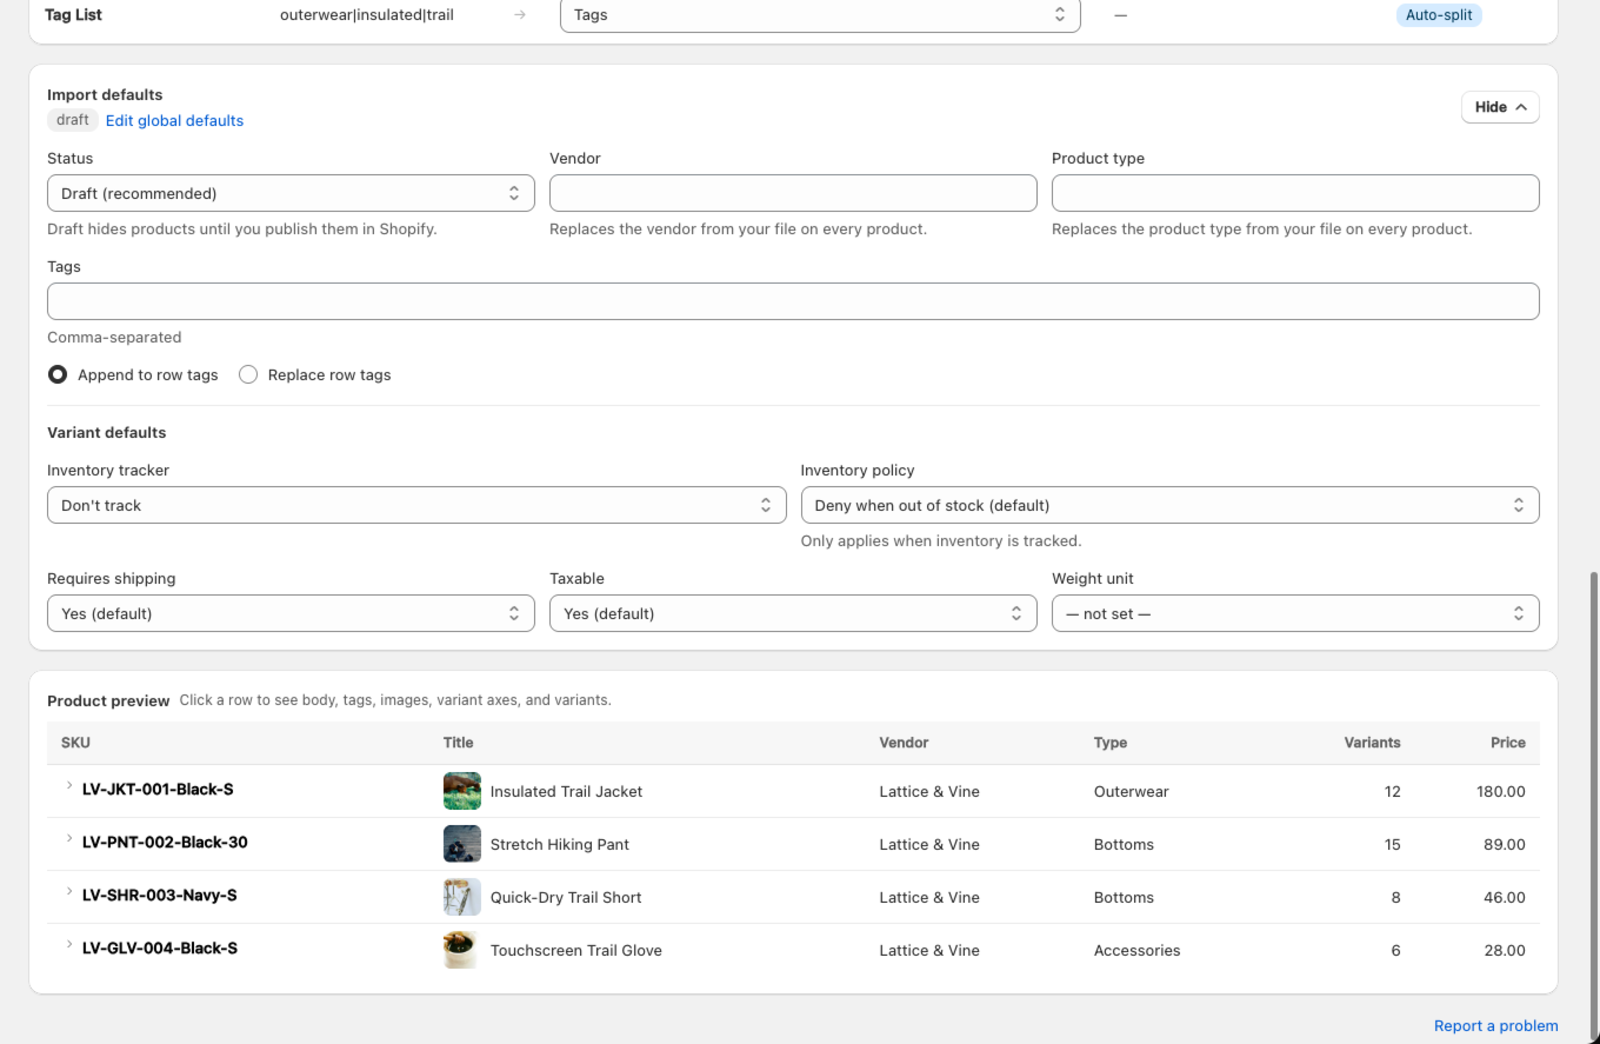
The Import defaults card on the mapping screen shows the values that will fill in any blanks your file doesn't cover — status, vendor, tags, and variant settings like inventory tracking. Click Customize for this import to expand it and override anything just for this upload, or Edit global defaults to change what pre-fills on every future import.
Step 5 — Start the import
Click Import to Shopify. A confirmation dialog restates what's about to happen — new products created, existing SKUs skipped — before anything is sent. Csvio then shows a live progress screen.
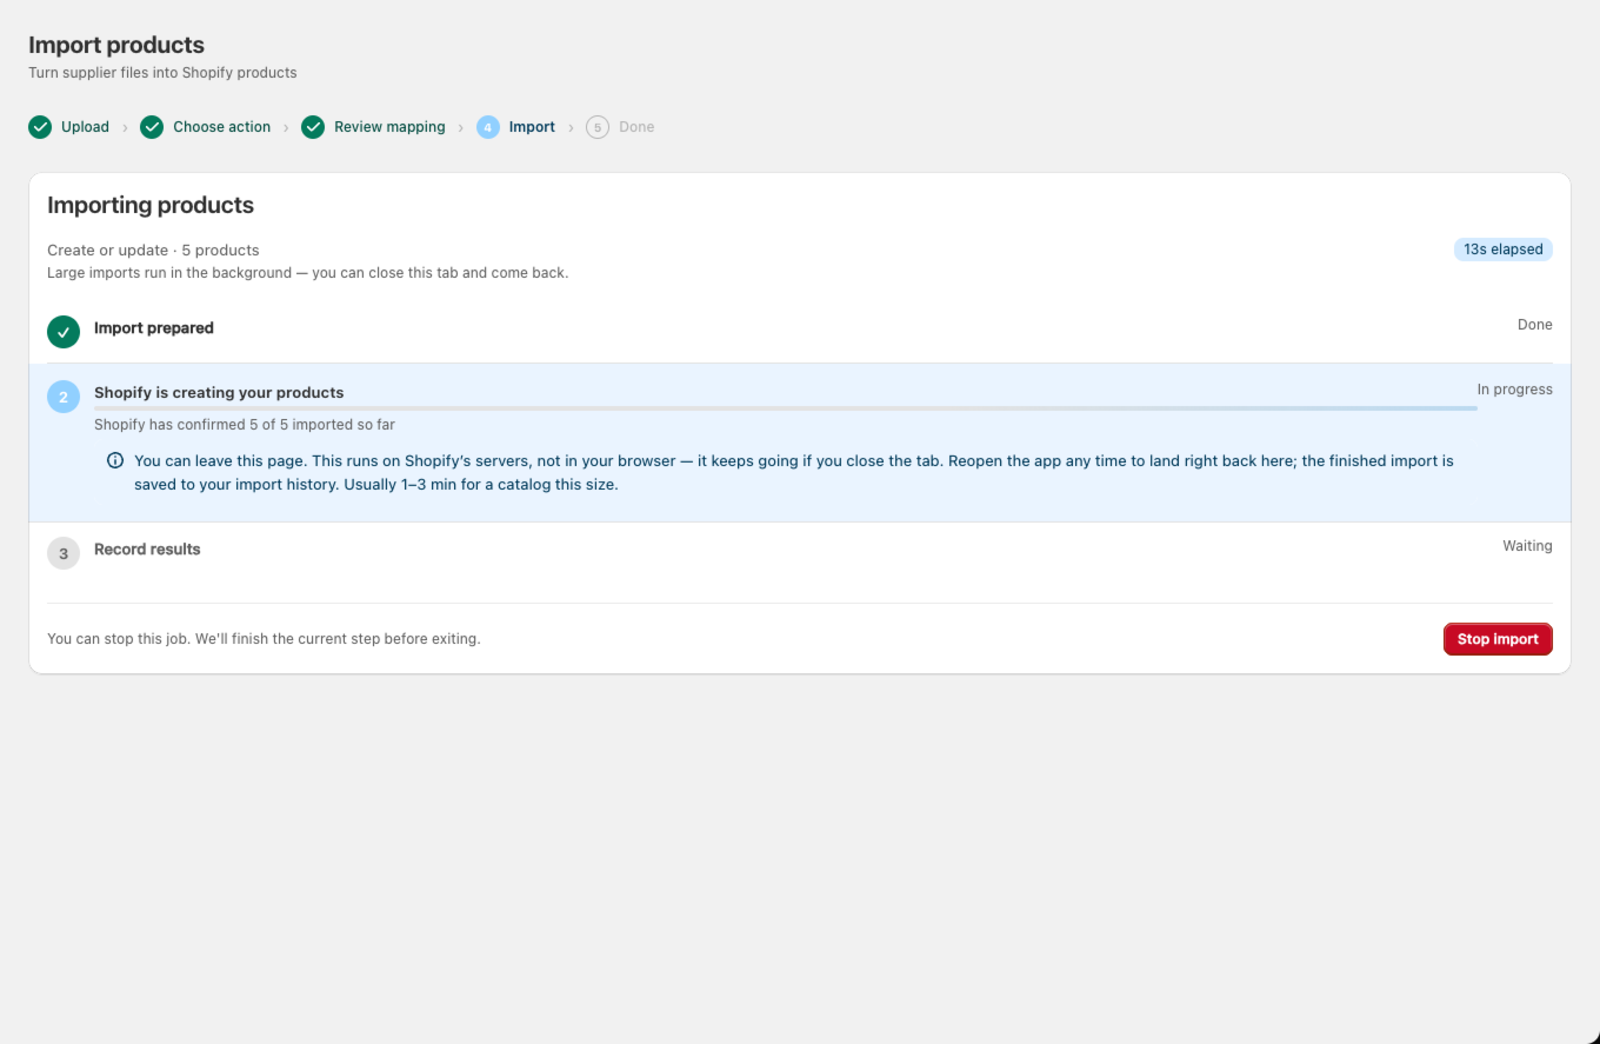
When the import finishes you'll see one of a few results:
| Result | What it means |
|---|---|
| Import complete | Rows were created; the card also lists any that were skipped as already-existing |
| Nothing was imported | Every row's SKU already exists in your store, so nothing needed to change |
| Partial | Some rows failed — click Retry failed or fix your file and re-upload |
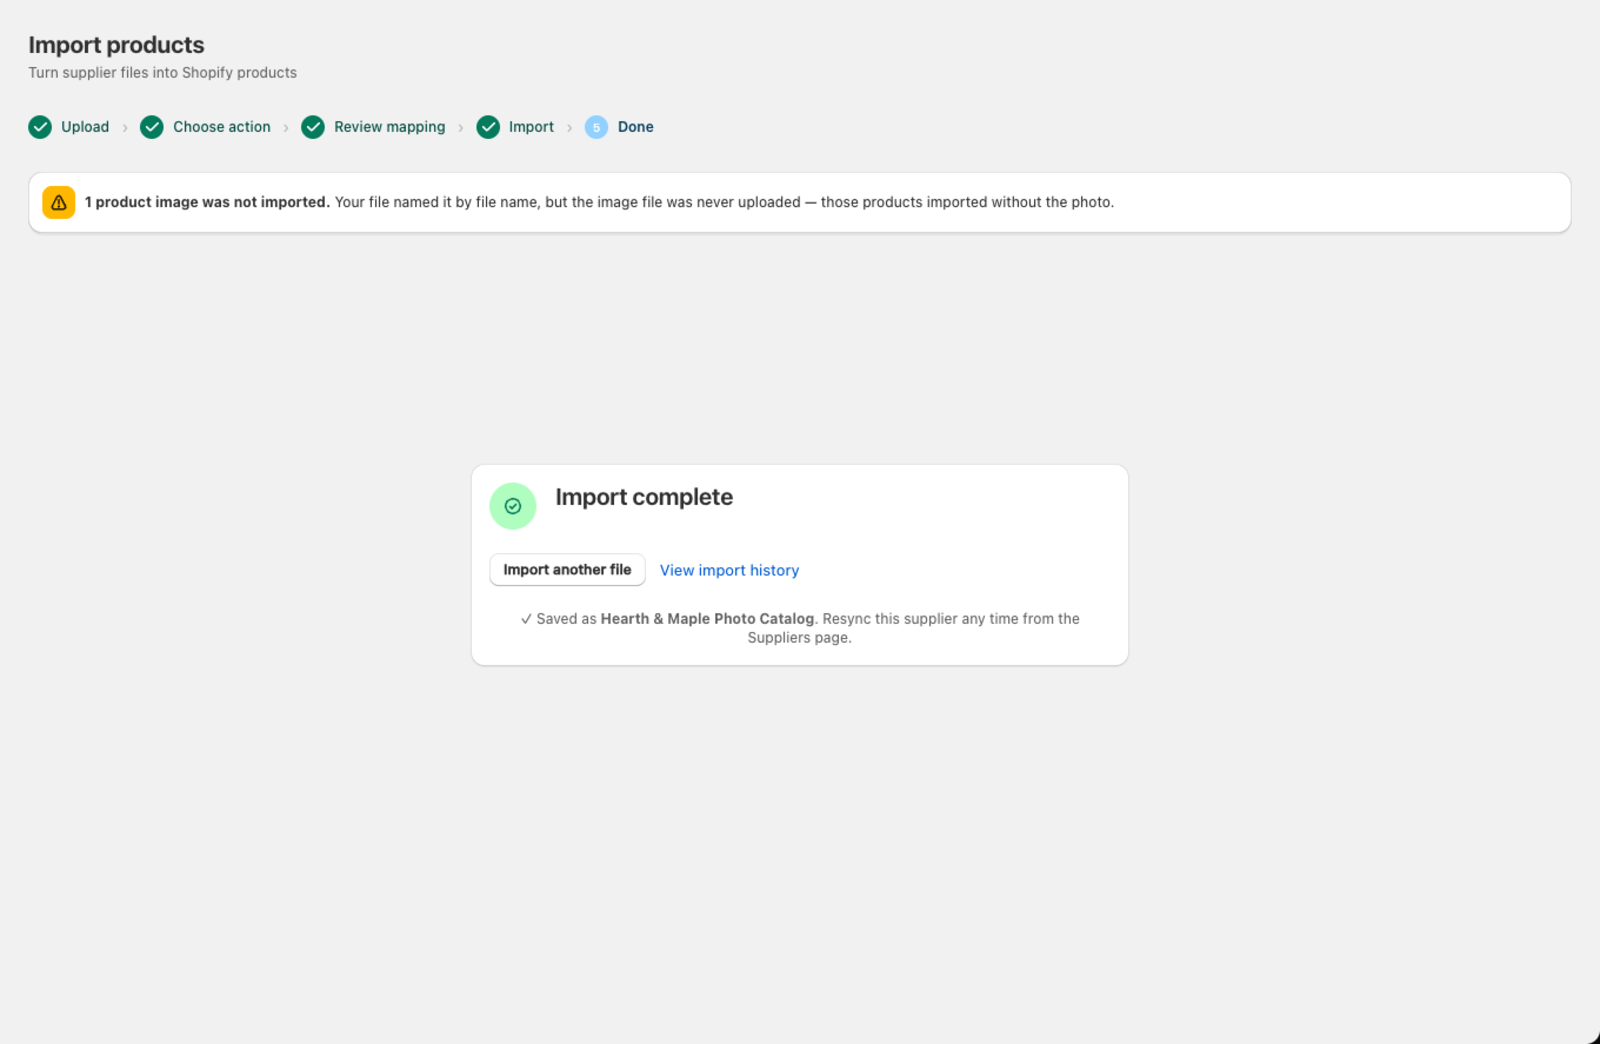
What happens after the import?
- Click View import history to see the products that were just created.
- Name the supplier when prompted so future uploads from the same file layout are recognized automatically and offer Resync.
- Visit History to review past imports or retry any failed rows.
Was this article helpful?
Still need help? Open Support in the Csvio menu to send us a message, or email [email protected].